

How to clean a 2 Way Gas Valve?
Leave a message

Hey there! As a supplier of 2 Way Gas Valves, I often get asked about how to properly clean these valves. A clean 2 Way Gas Valve not only ensures its efficient operation but also extends its lifespan. In this blog, I'll walk you through the step - by - step process of cleaning a 2 Way Gas Valve.
Why Cleaning is Important
Before we dive into the cleaning process, let's talk about why it's so crucial to keep your 2 Way Gas Valve clean. Over time, dirt, debris, and even small particles of rust can accumulate inside the valve. This build - up can cause the valve to malfunction, leading to issues like gas leaks or inconsistent gas flow. A well - maintained valve operates smoothly, providing a reliable and safe gas supply.
Tools You'll Need
To clean a 2 Way Gas Valve, you'll need a few basic tools:
- Screwdriver: A set of screwdrivers, including flat - head and Phillips - head, to remove the valve cover and any screws holding the valve components in place.
- Cleaning Solution: You can use a mild detergent or a specialized valve cleaning solution. Avoid using harsh chemicals that could damage the valve materials.
- Soft Brush: A soft - bristled brush, like a toothbrush, to gently scrub the valve parts.
- Compressed Air: A can of compressed air can be used to blow out any loose debris from hard - to - reach areas.
- Lubricant: A suitable lubricant for the valve to ensure smooth operation after cleaning.
Step 1: Safety First
Safety is always the top priority when dealing with gas valves. Before you start cleaning, make sure to turn off the gas supply to the valve. This can usually be done by closing the main gas shut - off valve. Also, ensure that the area is well - ventilated to prevent the build - up of any gas fumes.
Step 2: Disassemble the Valve
Using your screwdriver, carefully remove the valve cover and any other parts that are easily accessible. Take your time and keep track of all the screws and components so that you can reassemble the valve correctly later. Some 2 Way Gas Valves may have more complex disassembly procedures, so it's a good idea to refer to the manufacturer's instructions if you're unsure.
Step 3: Clean the Components
Once you've disassembled the valve, it's time to start cleaning. Dip the soft brush into the cleaning solution and gently scrub each component. Pay special attention to areas where dirt and debris are likely to accumulate, such as the valve seat and the internal passages. For stubborn dirt, you can soak the components in the cleaning solution for a few minutes before scrubbing.
After scrubbing, rinse the components thoroughly with clean water to remove any remaining cleaning solution. Make sure to dry them completely before proceeding. You can use a clean cloth or compressed air to speed up the drying process.
Step 4: Blow Out the Passages
Use the compressed air to blow out any remaining debris from the internal passages of the valve. This will help ensure that there are no blockages that could affect the gas flow. Hold the valve in a position that allows the air to flow through all the passages, and give it a few short bursts of air.
Step 5: Lubricate the Valve
Apply a small amount of lubricant to the moving parts of the valve, such as the valve stem and the seals. This will help the valve operate smoothly and prevent any sticking or binding. Be careful not to use too much lubricant, as it can attract more dirt and debris.

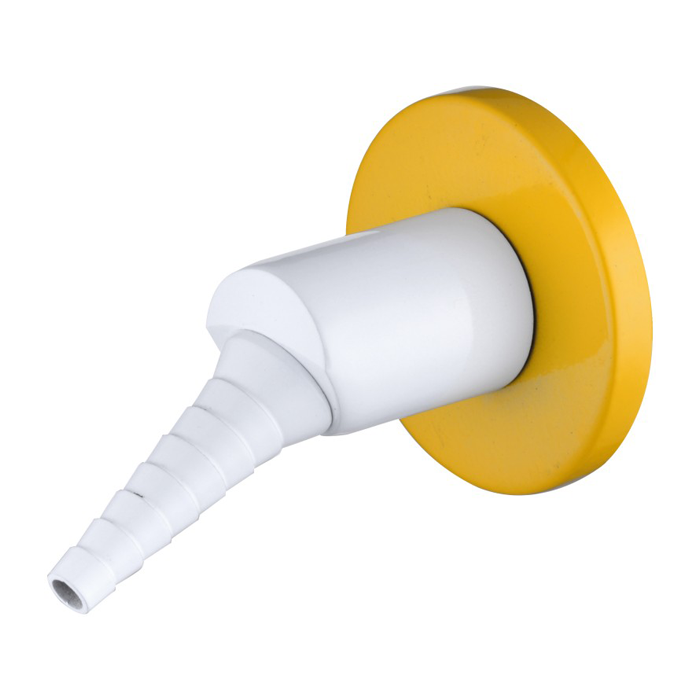
Step 6: Reassemble the Valve
Once all the components are clean, dry, and lubricated, it's time to reassemble the valve. Start by putting the internal components back in place, making sure they are properly aligned. Then, replace the valve cover and tighten the screws. Double - check that all the parts are securely in place.
Step 7: Test the Valve
After reassembling the valve, turn the gas supply back on and test the valve. Check for any gas leaks by applying a soapy water solution to the valve connections. If you see any bubbles, there is a leak, and you'll need to tighten the connections or replace the seals. Also, check the gas flow to ensure that the valve is operating correctly.
Different Types of 2 Way Gas Valves
We offer a variety of 2 Way Gas Valves to meet different needs. For example, the Bench Mounted Valve is ideal for laboratory benches, providing a convenient and reliable gas supply. The Remote Gas Flux Control Valve allows for remote control of the gas flow, which is great for applications where you need to adjust the flow from a distance. And the Fume Cupboard Valve is designed specifically for use in fume cupboards, ensuring a safe and efficient gas supply in a controlled environment.
Conclusion
Cleaning a 2 Way Gas Valve is not a difficult task, but it does require some attention to detail. By following these steps, you can keep your valve in top condition and ensure its reliable operation. If you have any questions about cleaning or maintaining your 2 Way Gas Valve, or if you're interested in purchasing a new valve, feel free to reach out. We're here to help you with all your gas valve needs.
References
- General knowledge of gas valve maintenance and operation.
- Manufacturer's instructions for 2 Way Gas Valves.


